How to Tie a Hair Rig Knot
How to tie The Basic Hair Rig
The hair rig became a revolution within carp fishing and has been around for decades now and is still as effective as it was 30 years ago, it is super simple to tie but it's a rig that should feature in every one's rig box.
Components you'll need:
-Hooks – The pattern of hook is entirely dependent on personal preference, but a size 6 wide gape pattern seems to be quite a popular option.
-Coated Hook link Material – There is a multitude of different hook link choices you can use for tying a hair rig but you need to think what suits your lakebed better, do you need something with a stiff coating that's going to help kick the rig away from the lead? Or are you going to be fishing over a dirtier bottom where you need a softer coated material that follows the contours better.
-Braid Scissors – These will help cut through the braid without leaving frayed ends.
Tying the hair rig
Step 1: First off you want to cut off around 10-12 inches of your chosen hook link, once you have done this strip off around 3 inches of the coating, this will be to form your hair.
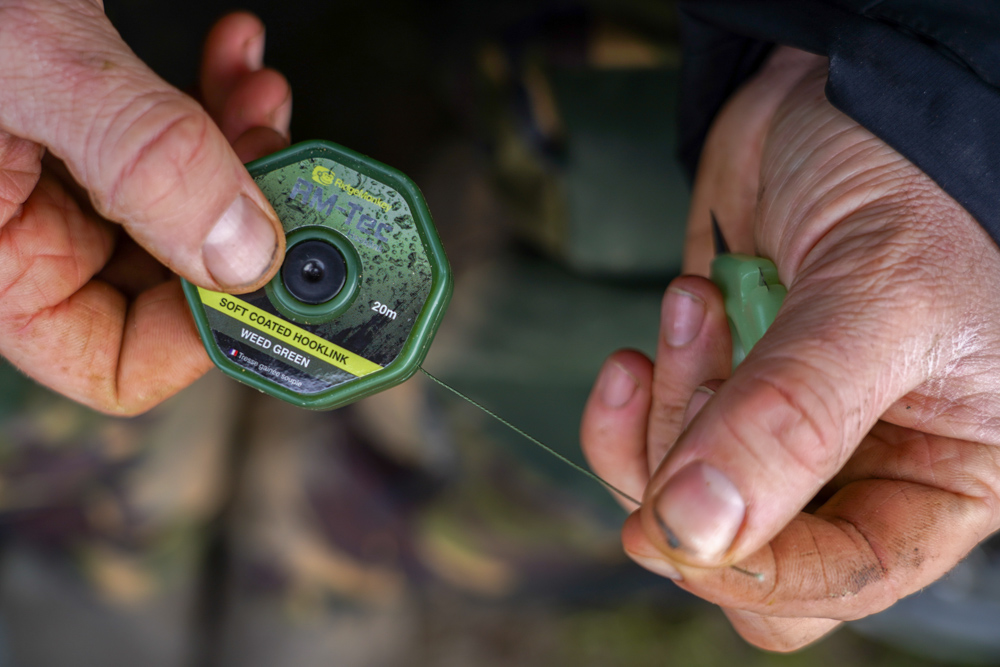
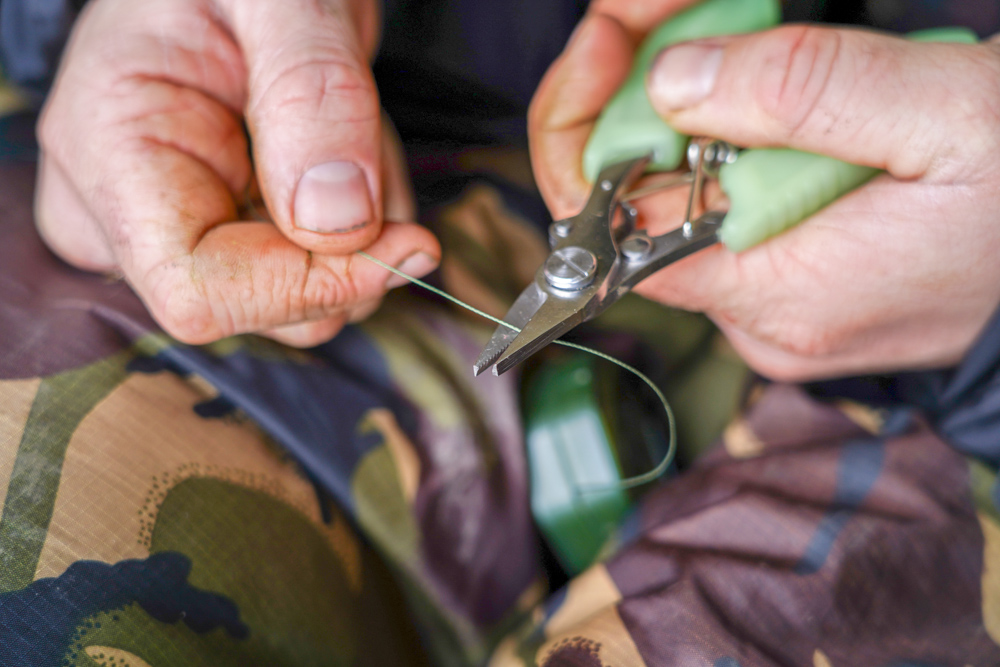
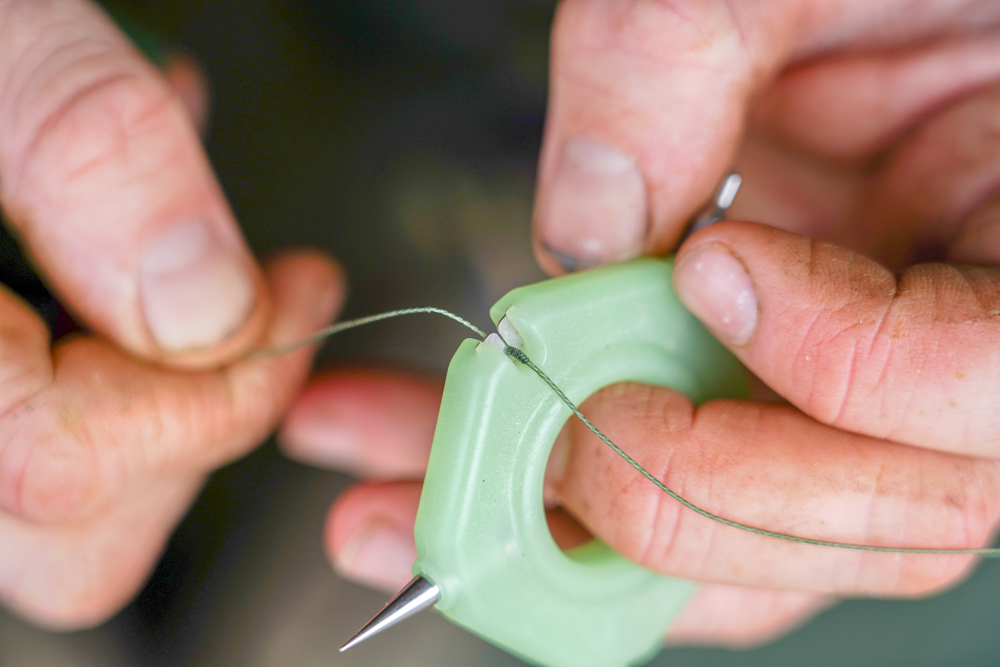
Step 2: Double over your softer stripped back braid and form an overhand loop knot in your hook link, this will act as your hair to mount the bait onto with a baiting needle. Make this quite small so it's less bulky, then cut off the tag end.

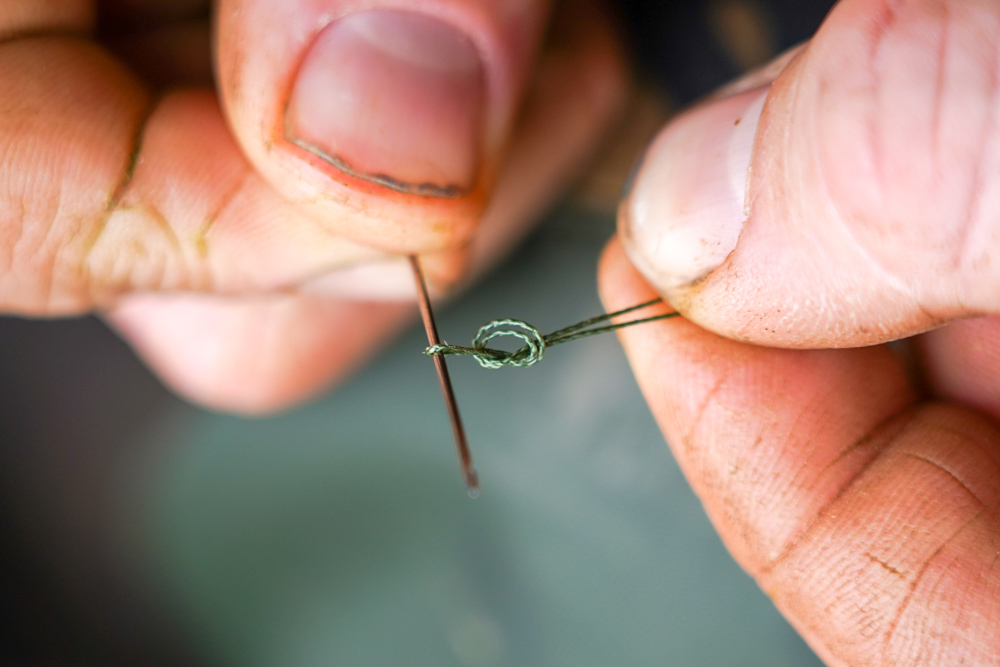

Step 3: Take your tag end and pass it through the back of the eye on the hook, this is extremely important and will help massively in getting good hook holds, if you pass it through the front it can put un-natural pressure on the hook potentially causing it to bend/snap. Once you pass it through, decide how long you want your hair, normally allowing 8-10mm of separation between the hook and the bait works well. Once you have got your hair length in place trap it with your fingers and whip down the shank of the hook 7-9 times, then whip back up over your existing whipping a further 2-3 times. Once you have done this pass the tag end again through the back of the eye and pull it down tight. You should be left with around 10mm of uncoated braid in front of the hook, which acts as a hinge point enabling the hook to turn over when in the fish's mouth, helping it find a hook hold.
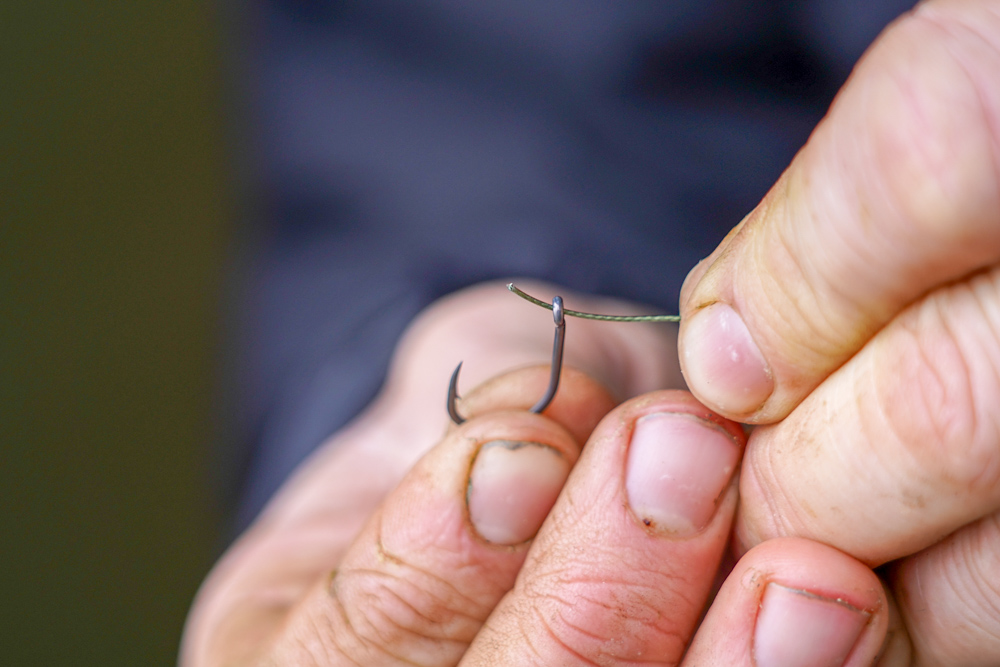
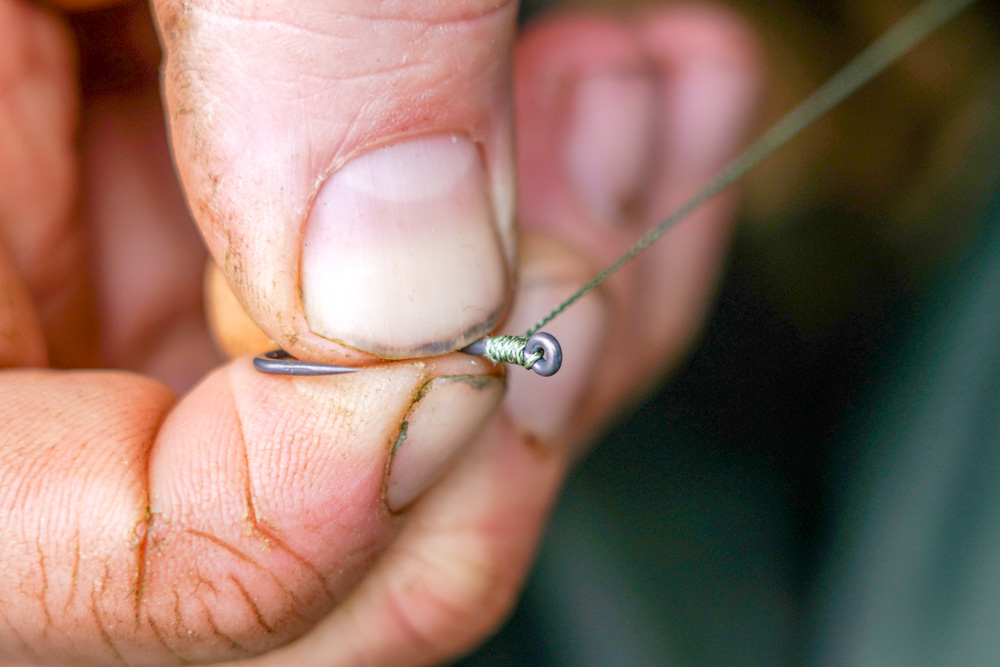
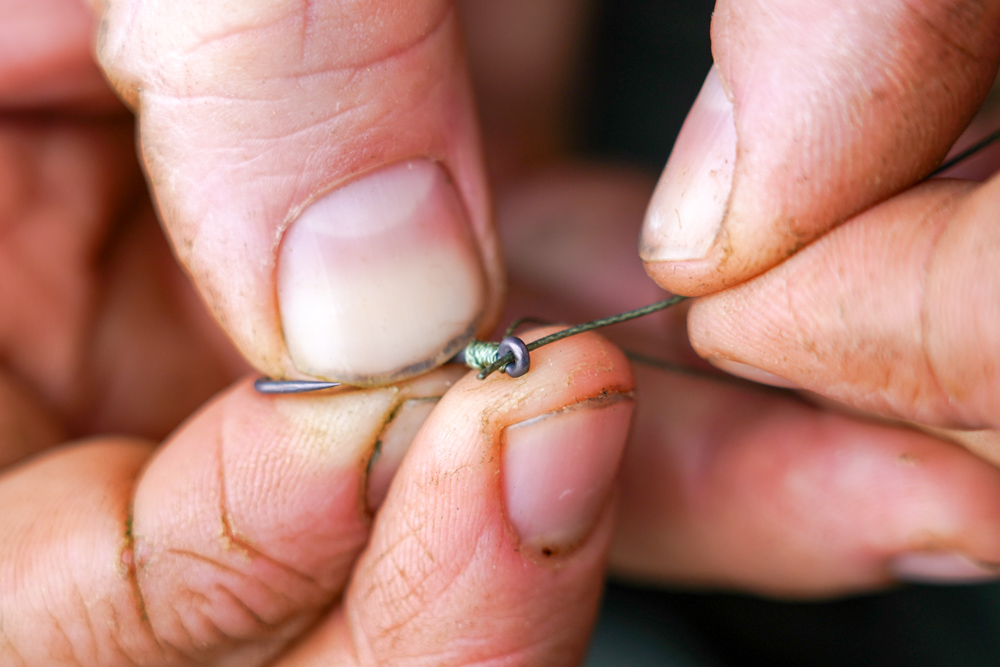
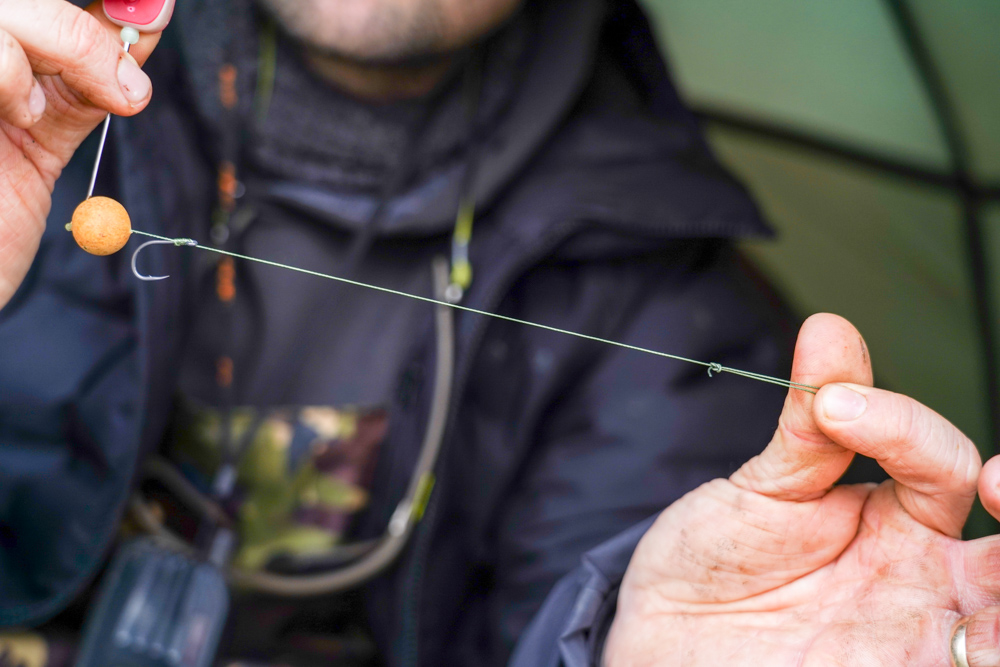
Step 4: You now need to decide how long you want your hook link, around 6 inches is normally a good starting point. You want to then create what's known as a figure of 8 loop knot on the tag end of the rig for quick change purposes, enabling you to easily take off the rig and replace with another if it goes blunt.

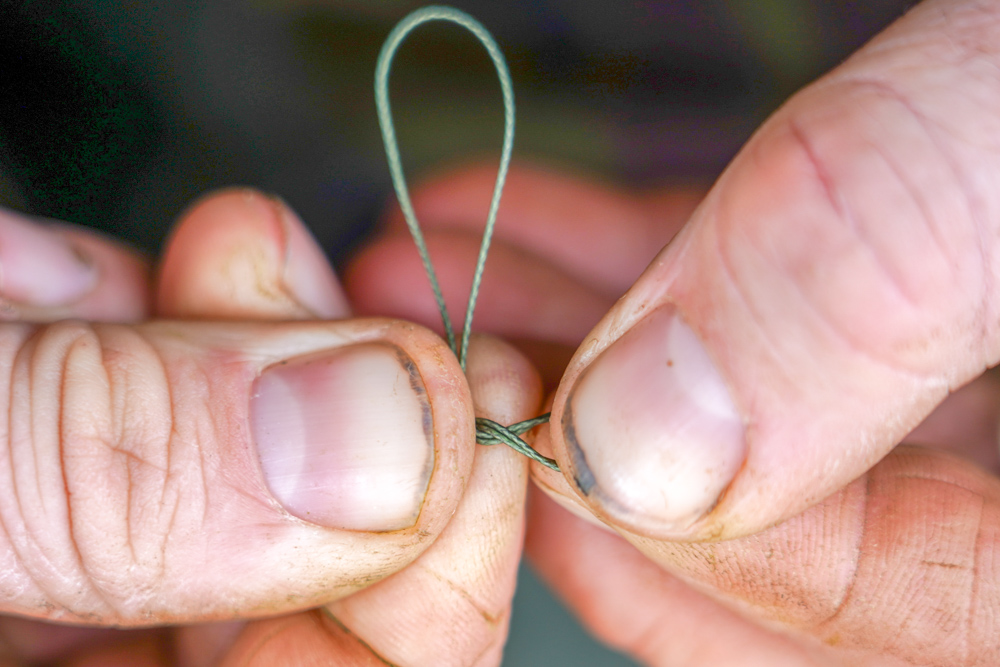
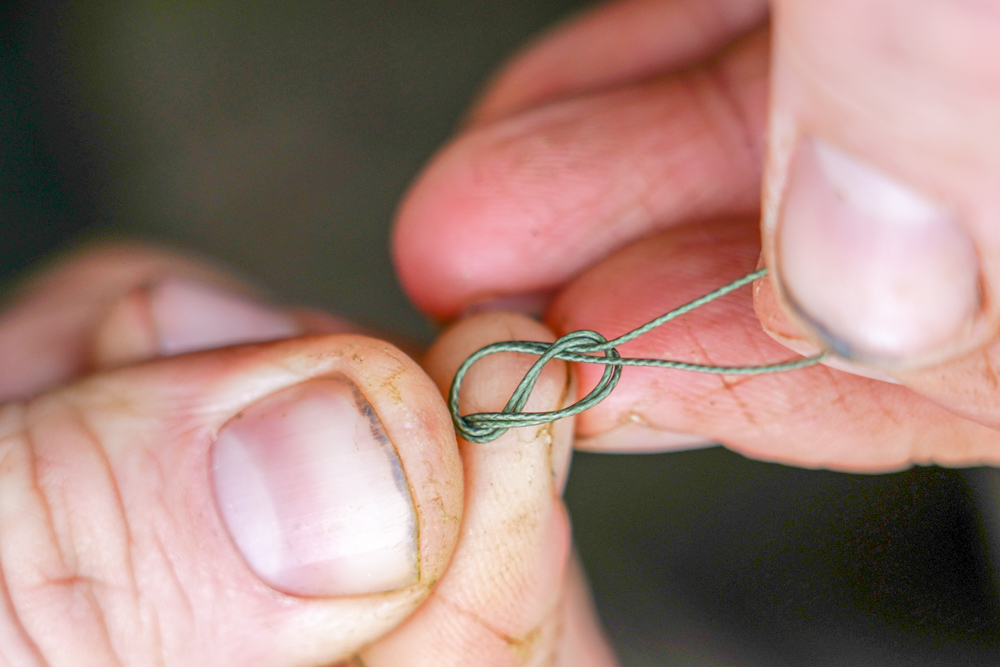
Step 5: To form the figure of 8 simply double over the hook link just like when you were making your hair, but this time you want to twist the loop 180 degrees anti clockwise and then pass your other loop through this. As you go to tighten this down you will see it forms a figure of 8 in the braid, always moisten these knots before you pull them down tight to avoid damaging the material. We would recommend adding an anti-tangle sleeve to the rig to ensure everything kicks away from the lead on the cast. If you don't want to use one the rig can be looped to looped onto a standard swivel.
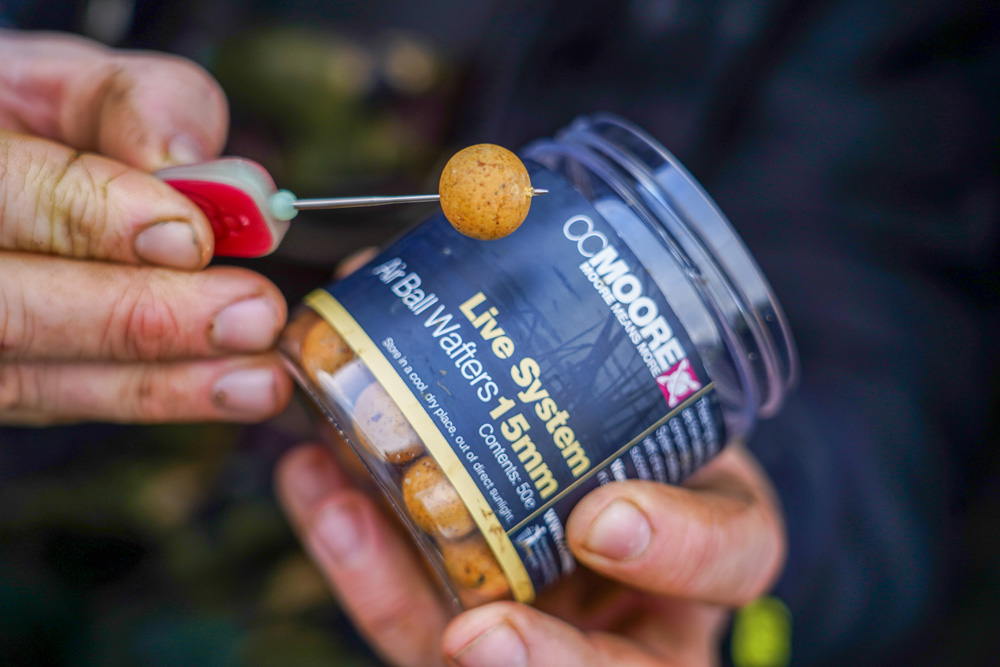
Step 6: All that's left to do is choose your hook bait of choice, for this we would recommend a 15mm Live System air ball wafter, the wafter will help eradicate the weight of the hook and trick those spooky fish into picking up your baited rig.
Source: https://ccmoore.com/blog/post/257-how-to-tie-the-hair-rig-back-to-basics-carp-tips